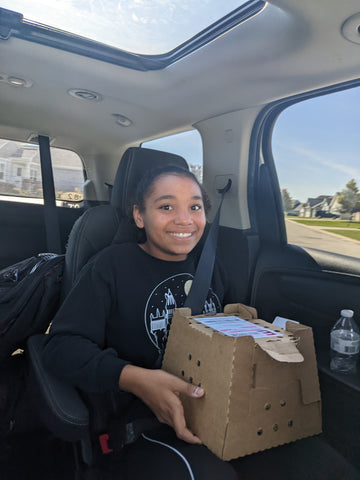
We have baby chicks! October 4th was such an exciting day for us. Our chicks had arrived at our local post office. My husband and I actually took our kids out of school early so they could go pick them up with us. When we walked in you could hear the cheeping all around the building! So exciting!


Day 1
How adorable are these little fluff balls! The important thing to remember on your first day with your chicks is to stay calm. The cheeping you hear is their distress. Quick chicks are happy chicks. If you have kids, remind them to stay quiet and calm so they don't scare or shock these fragile little ladies. You should already have their brooder box all set up. If you need help with that, click this link to build your brooder box or this like to get prepared for the big day. Calmly transfer them into their brooder box. They should have a warmer, food, and water with electrolytes.

Our little chicks took to the waterer and food right away. It's important not to use bedding yet because they may try to eat it. We used that soft, foam like shelf liner. Other people recommend paper towel. It just needs to be slip resistant so they chicks don't slip and get spraddle leg (sort of like the splits).

Of course you are going to want to hold them. Both of my kids did a great job. Make sure they are sitting. You don't want to drop a chick, of course, but at least if they are sitting down on the floor, the chick wouldn't fall too far. Just remind them to hold them without squeezing them and to stay quiet and calm. We always tell our kids to listen to their chicks. If they are squirming, then put them back. If they are calm and falling asleep, they are clearly comfortable and happy.


The First Week
The first week is so much fun. Take lots of pictures because they grow quickly. We learned just how much of a mess this little cuties can make. We pretty much cleaned out their brooder box every day for the first week. To clean it out, the kids carefully transferred the chicks along with their warmer, food, and water into a cardboard box. Then they changed out the shelf line, wiped down any poop off the edges, and wiped down the warmer if it was dirty. Then they put them back in the brooder. We also learned that the food needs to be raised a little bit because otherwise they will hop on it and poop in it! We just used a weight. Always check their bottoms for pasty butt. This is when the poop gets matted and can cause them to stop pooping and can be life threatening. Always keep their vents (bums) clean.
Here are our little ladies - meet Pip, Pumpkin, Halo, and Daisy Mae.
Week 2
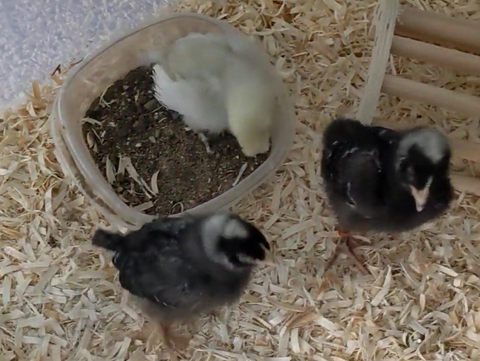
On week two, it's time to add in bedding. We went with pine shavings. It was so much fun to watch them in the pine shavings for their first time. This is also the time to introduce a dust bath to them. We simply used a ziploc container and did a 50/50 mix of dirt and sand. It took them a few days to figure out what to do with it, but once they did, it was hard to stop watching! They are so stinking cute.

Week 3
Time to get outside of that brooder box a bit. We decided to let them roam a bit. The first time, we laid out cardboard in our kitchen and brought them out, along with their food, water, and warmer. They had so much fun pecking the cardboard and wandering around. Another day, it was warm enough to take them outside for a little bit. They LOVED being outside. We let them play until they started cheeping and huddling, and then we got them back in their brooder.


Week 4
On week 4 we decided to upgrade their brooder box. They probably would've been fine in the original one we made, but I felt bad for them because they were getting so big and needed more room. The first picture shows the original one and the second pic is the new one.


